Baked BBQ Chicken Thighs: Easy, Juicy & Flavorful
Have you ever wondered why restaurant BBQ chicken always seems more flavorful and juicy than homemade versions? The secret isn’t fancy equipment or professional training it’s understanding the perfect balance of time, temperature, and technique that transforms ordinary chicken thighs into extraordinary meals.
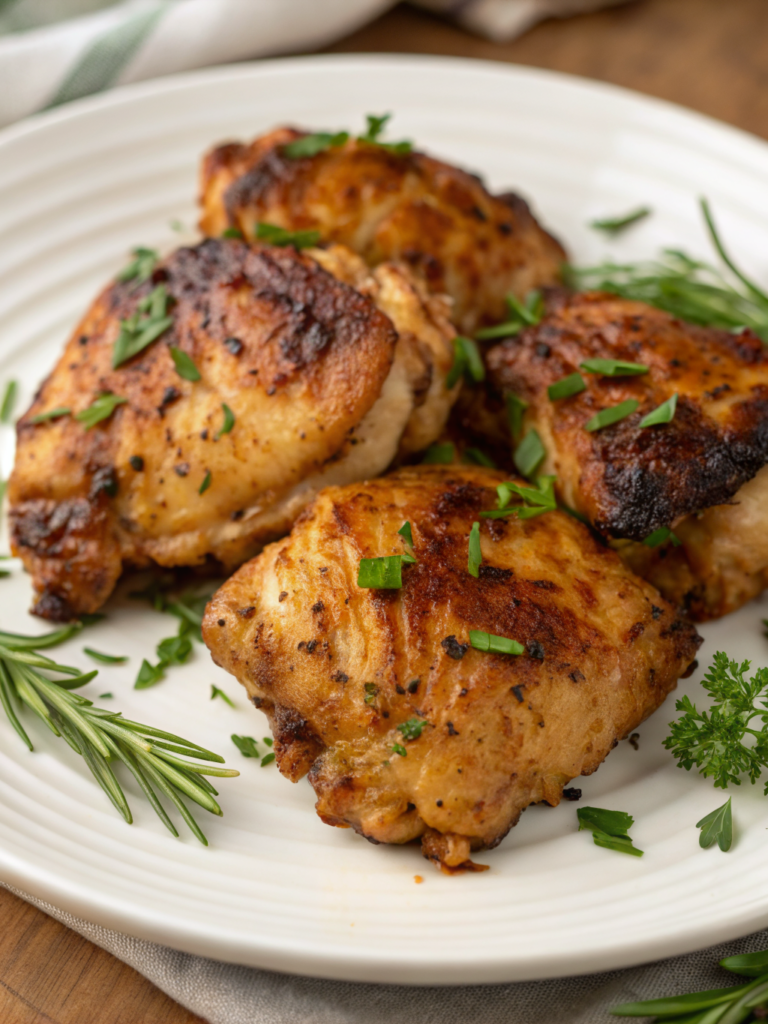
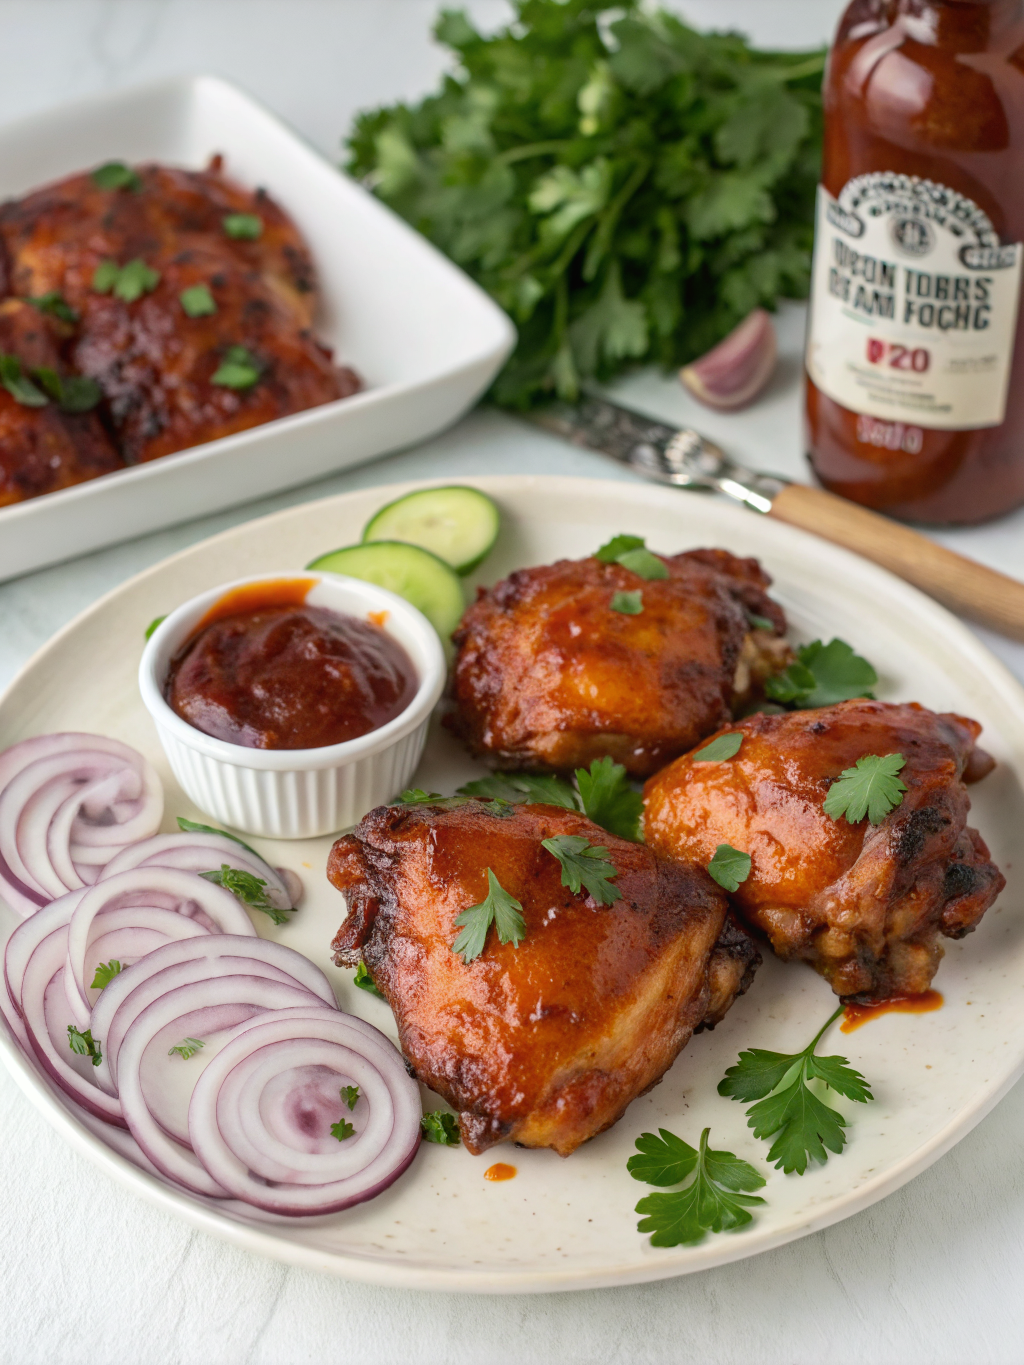
These baked bbq chicken thighs deliver that restaurant-quality taste right in your own kitchen. With their crispy exterior, tender meat, and that perfect sticky-sweet BBQ glaze, they’re guaranteed to become a family favorite. Best of all, they’re surprisingly simple to prepare!
Let me walk you through creating this delicious dish that combines the convenience of oven baking with the irresistible flavor of barbecue. Whether you’re cooking for a weeknight dinner or weekend gathering, these chicken thighs will impress everyone at your table.
Ingredients List
- 2 pounds bone-in, skin-on chicken thighs (about 6-8 thighs) – The bone and skin help maintain moisture and add flavor. For a leaner option, skinless thighs work too, though they won’t be quite as crispy.
- 2 tablespoons olive oil – Helps the seasoning adhere and promotes browning. Avocado oil makes a good substitute.
- 1 tablespoon paprika – Adds a beautiful color and mild flavor. Smoked paprika offers a deeper flavor profile if you prefer.
- 1 teaspoon garlic powder – Provides savory depth. Fresh minced garlic (2 cloves) can be substituted for a more intense flavor.
- 1 teaspoon onion powder – Adds aromatic sweetness. Grated fresh onion (2 tablespoons) works as an alternative.
- 1 teaspoon dried thyme – Offers herbal notes. Rosemary or oregano make excellent substitutions.
- ½ teaspoon salt – Enhances all flavors. Kosher salt is preferred for its clean taste.
- ½ teaspoon black pepper – Provides gentle heat. Freshly ground is best for maximum flavor.
- 1 cup barbecue sauce – The star flavor component. Choose your favorite brand or make homemade for a personalized touch.
- 2 tablespoons honey – Adds glossy shine and caramelization. Brown sugar or maple syrup work well as alternatives.
- 1 tablespoon apple cider vinegar – Balances sweetness with tang. White vinegar or lemon juice can substitute in a pinch.
Timing
Preparation time: 15 minutes – This includes trimming the chicken, mixing the spices, and preparing the BBQ sauce mixture.
Cooking time: 45-50 minutes – Significantly faster than traditional barbecue methods which can take 2+ hours, yet delivers equally tender results.
Total time: 1 hour and 5 minutes – Perfect for busy weeknights when you want something delicious without spending hours in the kitchen.
Active time: Only about 25 minutes – The oven does most of the work, allowing you to prepare sides or handle other tasks while the chicken cooks.
Step-by-Step Instructions
Step 1: Prepare Your Ingredients
Preheat your oven to 400°F (200°C). Pat the chicken thighs dry with paper towels – this crucial step ensures crispy skin and better seasoning adhesion. In a small bowl, combine paprika, garlic powder, onion powder, dried thyme, salt, and pepper to create your spice mixture.
Step 2: Season the Chicken
Place the chicken thighs in a large bowl and drizzle with olive oil. Toss until evenly coated. Sprinkle the spice mixture over the chicken and use your hands to massage it into the meat, ensuring each thigh is thoroughly covered. This direct contact helps the flavors penetrate more effectively than simply sprinkling from above.
Step 3: Initial Baking
Arrange the seasoned baked bbq chicken thighs on a baking sheet lined with parchment paper or aluminum foil, skin side up. Make sure to leave a little space between each piece to promote even cooking. Bake for 25 minutes until the skin begins to crisp and the internal temperature reaches about 145°F.
Step 4: Prepare the BBQ Sauce
While the chicken bakes, combine barbecue sauce, honey, and apple cider vinegar in a small saucepan. Heat over medium-low until just simmering, stirring occasionally. This warming step helps the honey incorporate fully and intensifies the flavors. Remove from heat after about 5 minutes.
Step 5: Apply the BBQ Glaze
After the initial baking period, remove the chicken from the oven. Using a basting brush, generously coat each thigh with the prepared BBQ sauce mixture. Be sure to cover all exposed surfaces for maximum flavor. Reserve some sauce for a second application.
Step 6: Final Baking
Return the chicken to the oven and bake for an additional 15 minutes. Apply a second coating of BBQ sauce and continue baking for 5-10 more minutes until the sauce is sticky and caramelized, and the chicken reaches an internal temperature of 175°F. The higher temperature makes baked bbq chicken thighs perfectly tender.
Step 7: Rest and Serve
Remove the chicken from the oven and let it rest for 5 minutes before serving. This resting period allows the juices to redistribute throughout the meat, ensuring maximum juiciness. Serve with any remaining BBQ sauce on the side for those who enjoy extra sauciness.
Nutritional Information
Each serving of these baked bbq chicken thighs (based on 2 thighs per serving) provides approximately:
• Calories: 420 per serving
• Protein: 28g – Supports muscle maintenance and provides lasting fullness
• Fat: 24g (8g saturated) – Primarily from the chicken skin, which can be removed after cooking if preferred
• Carbohydrates: 22g – Mainly from the BBQ sauce and honey
• Sugar: 18g – Consider reduced-sugar BBQ sauce to lower this number
• Fiber: 0.5g
• Sodium: 780mg – About 34% of the recommended daily intake
• Iron: 1.5mg – 8% of daily requirements, supporting healthy blood oxygen levels
• Vitamin B6: 0.5mg – 25% of daily needs, important for brain development and function
Healthier Alternatives for the Recipe
For a lighter version without sacrificing flavor, consider these modifications:
• Use skinless chicken thighs to reduce fat content by approximately 50% (from 24g to 12g per serving).
• Substitute a sugar-free or reduced-sugar BBQ sauce to lower carbohydrate content. This simple swap can reduce sugar content by up to 70%.
• Replace honey with monk fruit sweetener or stevia for a lower-glycemic option that won’t spike blood sugar levels.
• Add a tablespoon of smoked paprika to the spice mix if using skinless thighs to compensate for flavor typically provided by the skin.
• For gluten-sensitive individuals, verify your BBQ sauce is gluten-free, as some commercial brands contain wheat-based ingredients.
Serving Suggestions
Elevate your meal with these complementary side dishes and presentation ideas:
• Classic comfort: Serve alongside creamy mashed potatoes and roasted green beans for a satisfying family dinner.
• Lighter option: Pair with a crisp coleslaw dressed with vinaigrette instead of mayo and a side of roasted sweet potatoes.
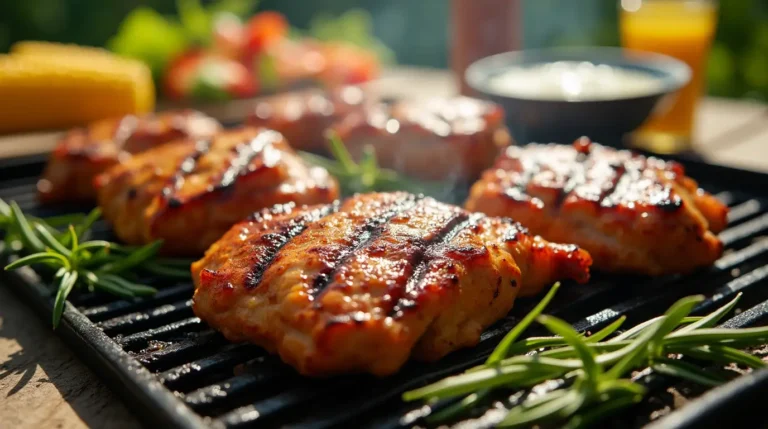
• Summer picnic style: Accompany with corn on the cob, potato salad, and watermelon slices for a seasonal feast.
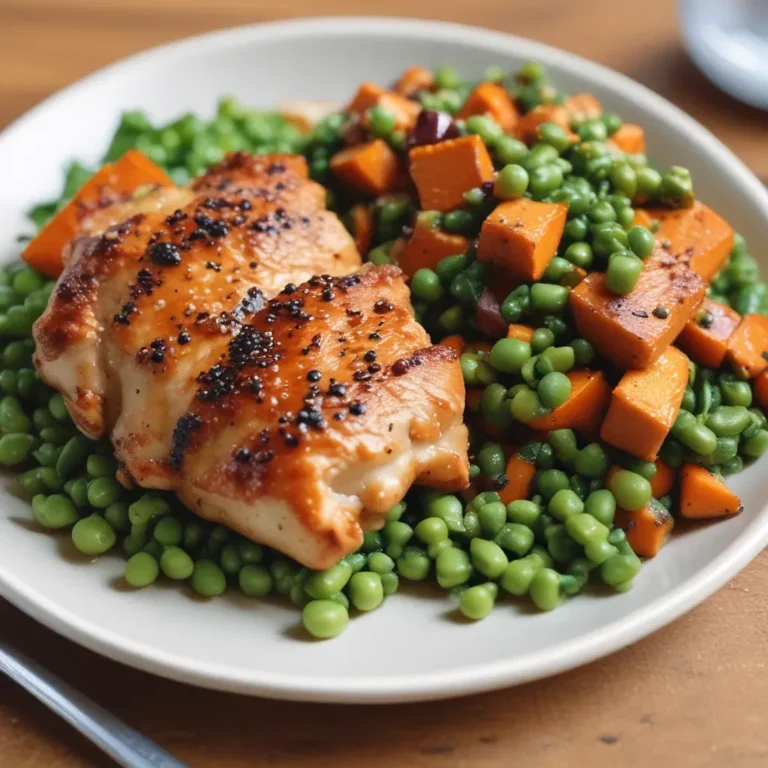
• Grain bowl: Serve chopped chicken thighs over brown rice or quinoa with roasted vegetables and a drizzle of additional BBQ sauce.
• Sandwich creation: Shred the meat from leftover chicken thighs and pile onto toasted brioche buns with pickles and extra sauce for next-day lunches.
Common Mistakes to Avoid
- Skipping the drying step: Not patting chicken dry before seasoning leads to steamed rather than crispy skin. This simple 30-second step improves texture dramatically.
- Adding BBQ sauce too early: Applying sauce at the beginning causes burning due to the high sugar content. Always bake partially before glazing.
- Overcrowding the pan: Placing thighs too close together creates steam, preventing proper browning. Leave at least 1 inch between pieces.
- Undercooking: Unlike chicken breasts that are best at 165°F, thighs shine at 175-180°F when collagen breaks down into gelatin, creating that fall-off-the-bone texture.
- Skipping the rest period: Cutting into chicken immediately after cooking causes juice loss, resulting in drier meat. The 5-minute rest makes a noticeable difference.
Storing Tips for the Recipe
Properly stored, these chicken thighs maintain their delicious flavor for several days:
• Refrigeration: Store cooled leftovers in airtight containers for up to 4 days. The flavor actually improves after 24 hours as the spices continue to penetrate the meat.
• Freezing: Wrap individual portions in plastic wrap, then aluminum foil, and freeze for up to 3 months. Label with the date to track freshness.
• Reheating: For best texture, reheat in a 300°F oven for 15-20 minutes rather than microwaving, which can make the meat rubbery. Add a tablespoon of water to the dish to maintain moisture.
• Meal prep: Prepare the spice mixture and BBQ sauce up to a week in advance. You can even season the raw chicken up to 24 hours before cooking for enhanced flavor penetration.
Conclusion
These delicious baked BBQ chicken thighs deliver the perfect balance of convenience, flavor, and satisfaction. With their crispy exterior, juicy interior, and irresistible sticky-sweet glaze, they prove that impressive meals don’t require complicated techniques or hard-to-find ingredients.
What makes this recipe truly special is its versatility adjust the seasonings to your taste, experiment with different BBQ sauce flavors, or modify the cooking method to suit your schedule. The fundamental technique will consistently deliver outstanding results.
Have you tried making these baked BBQ chicken thighs? Share your experience in the comments below! Did you make any exciting variations or discover a perfect side dish pairing? I’d love to hear how this recipe worked in your kitchen and any personal touches you added to make it your own.