How To Brine Chicken Breast Recipe
Ever wondered why restaurant chicken breasts are so juicy and flavorful while homemade versions often turn out dry and bland? The secret lies in a simple technique that professional chefs swear by. Brining is that magical process that transforms ordinary chicken into succulent, flavor-packed perfection. Learning how to brine chicken breast is a game-changer for home cooks who want restaurant-quality results.
Brining involves soaking chicken in a salt solution, allowing the meat to absorb moisture and seasoning through osmosis. This technique not only enhances flavor but also helps maintain juiciness during cooking. Let’s dive into the simple yet transformative process of how to brine chicken breast that will revolutionize your chicken dishes.
Ingredients List
Creating the perfect chicken brine recipe requires just a few simple ingredients that you likely already have in your kitchen. The beauty of brining lies in its simplicity and customizability.
- 4 cups cold water
- 1/4 cup kosher salt (not table salt)
- 1/4 cup granulated sugar (can substitute with honey or brown sugar)
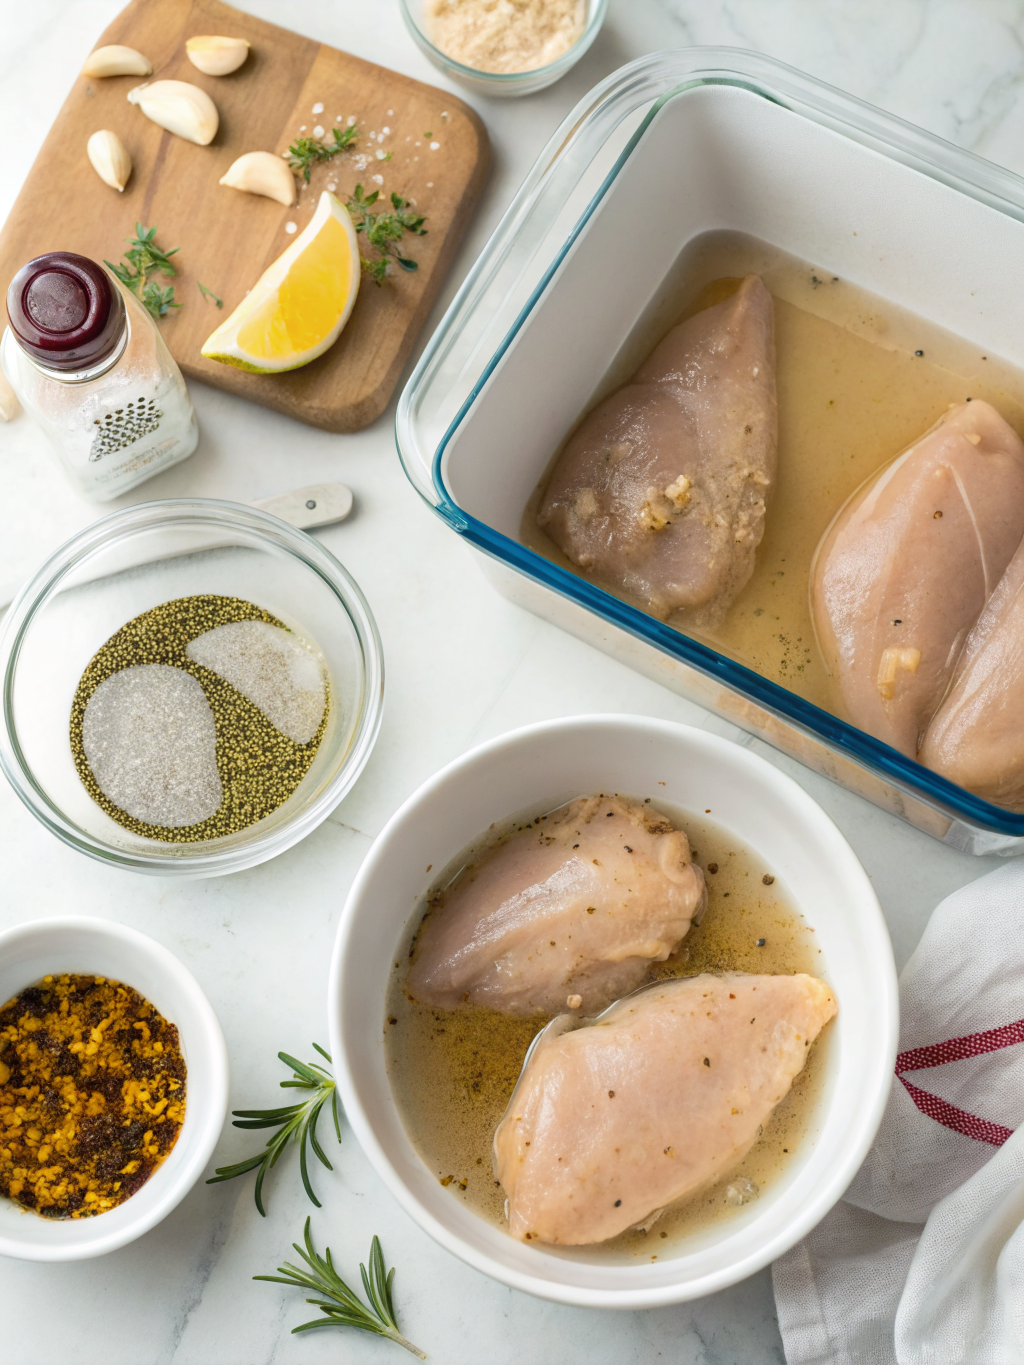
- 4 garlic cloves, crushed (optional)
- 1 tablespoon whole peppercorns (optional)
- 2 bay leaves (optional)
- 1 tablespoon fresh herbs like thyme or rosemary (optional)
- 1 lemon, sliced (optional)
- 4 boneless, skinless chicken breasts
The only truly essential ingredients are water and salt. Everything else enhances flavor but isn’t necessary for the brining process itself. Feel free to experiment with aromatics that complement your final dish.
Timing
Preparation time: 10 minutes
Brining time: 30 minutes to 4 hours (optimal: 1-2 hours)
Total time: 40 minutes to 4 hours 10 minutes
Unlike traditional marinating which can take overnight, brining chicken breasts works relatively quickly. In just 30 minutes, you’ll notice improvement, while the optimal window of 1-2 hours delivers maximum benefits without over-salting the meat. This is 50% less time than required for brining whole chickens, making it perfect for weeknight cooking.
Step-by-Step Instructions
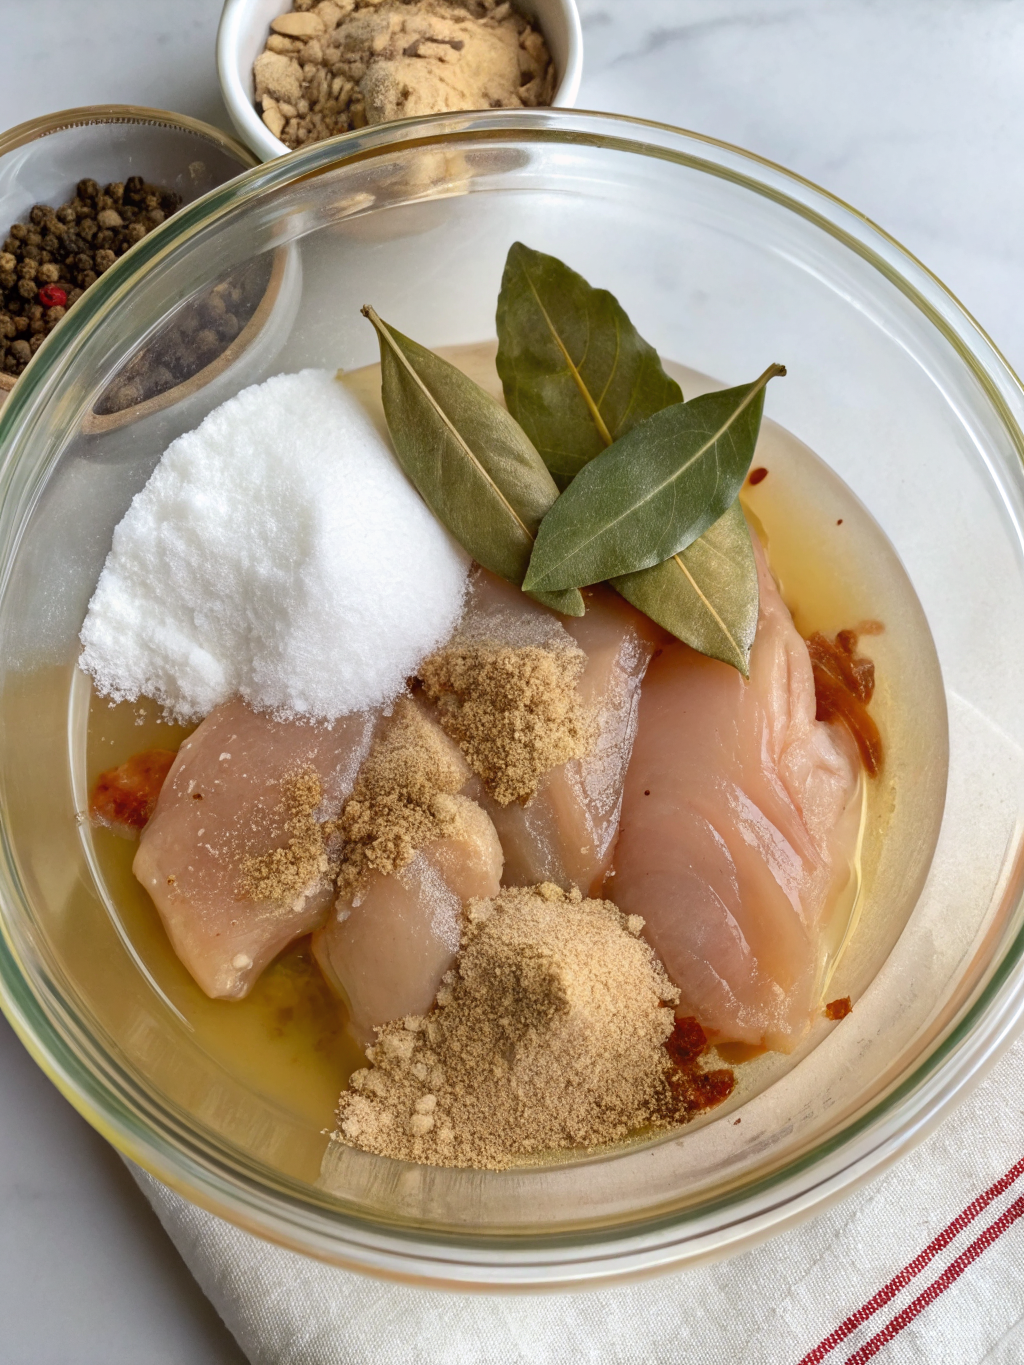
Step 1: Prepare the Brine Solution
In a large bowl or container, combine 1 cup of the water with the salt and sugar. Stir vigorously until completely dissolved. This creates a concentrated brine base. Add the remaining 3 cups of cold water and stir to combine. The water should be cold to prevent bacterial growth during brining.
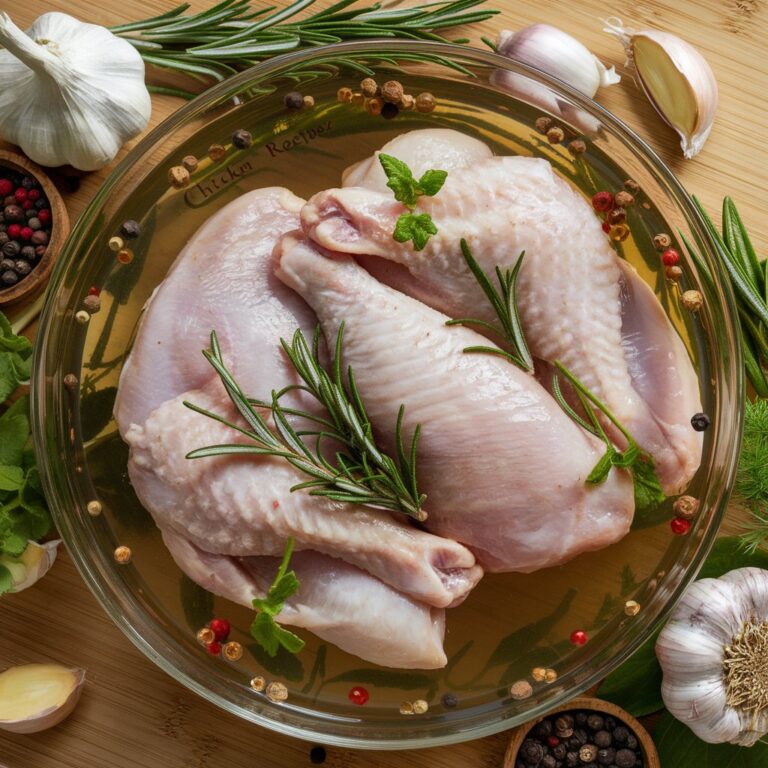
Step 2: Add Aromatics
If using, add the crushed garlic, peppercorns, bay leaves, fresh herbs, and lemon slices to the brine solution. These ingredients will infuse subtle flavors into the chicken. While optional, they elevate the final taste profile significantly, especially if you’re planning to use the chicken in a dish with minimal seasoning.
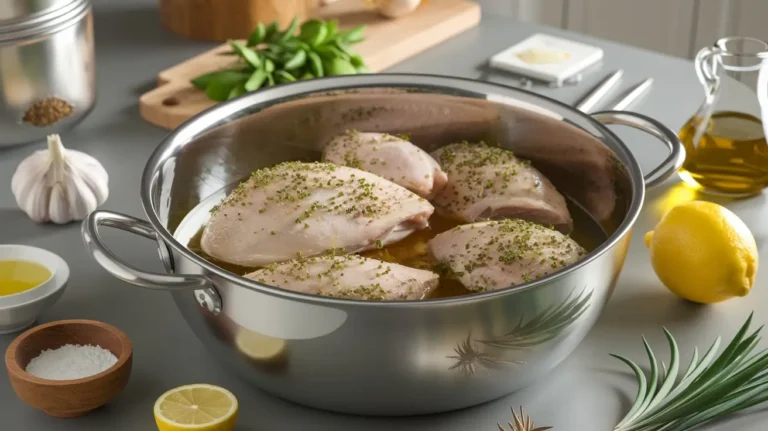
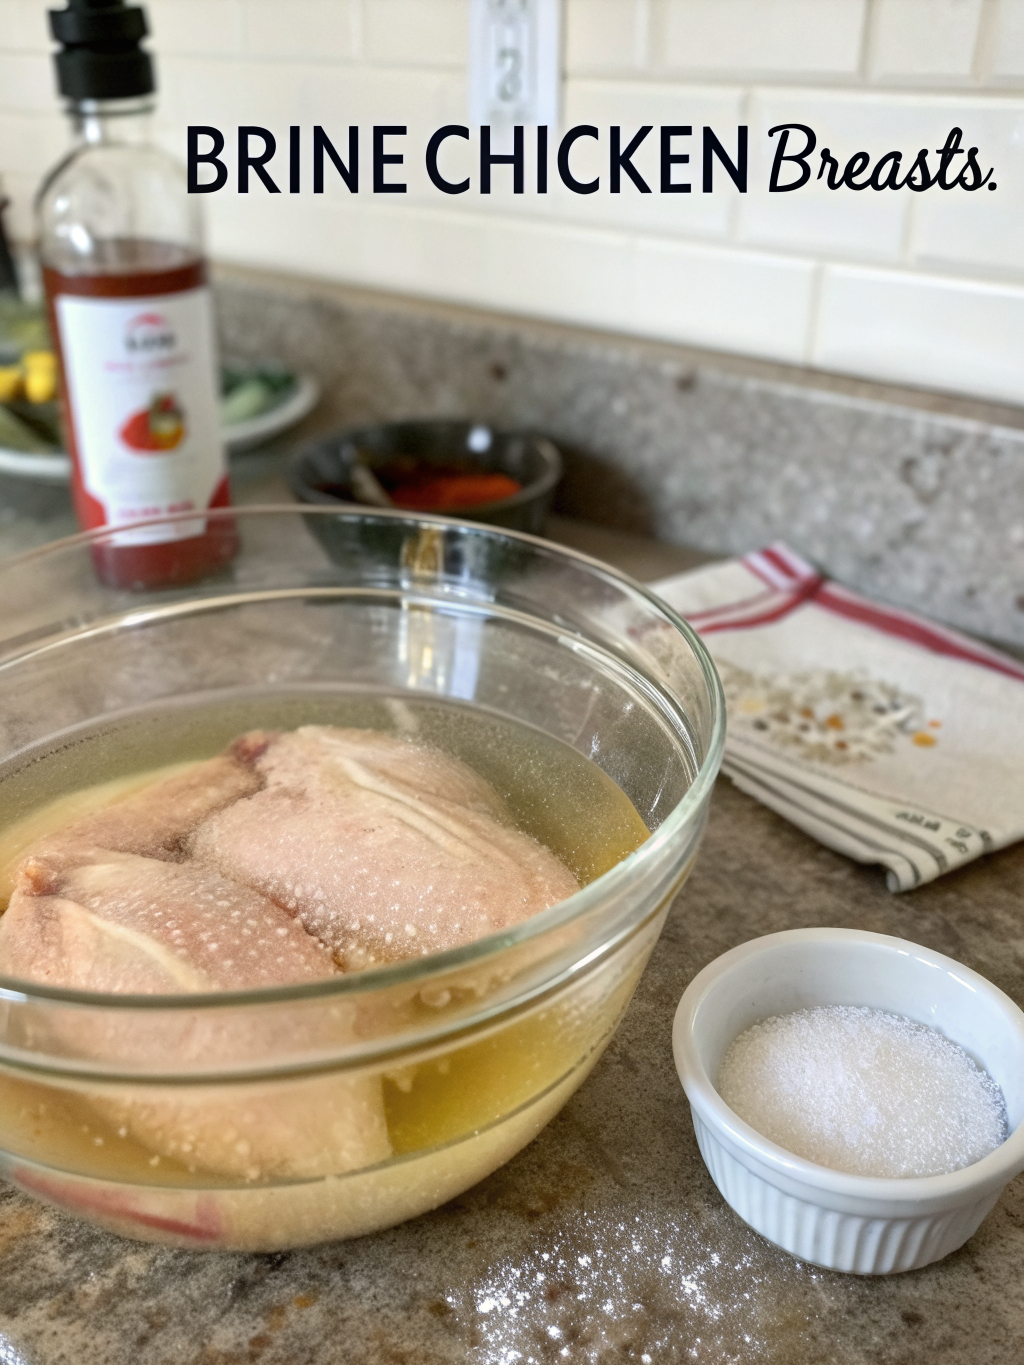
Step 3: Submerge the Chicken
Place the chicken breasts in the brine solution, making sure they’re completely submerged. If needed, place a small plate on top to keep them under the liquid. Cover the container with plastic wrap or a lid and refrigerate. Never brine at room temperature, as this creates food safety concerns.
Step 4: Time Your Brine
Brine boneless chicken breasts for 1-2 hours for optimal results. Thinner cuts need less time, while thicker pieces benefit from longer brining. Avoid brining longer than 4 hours, as the chicken can become too salty and develop a spongy texture due to protein breakdown.
Step 5: Rinse and Pat Dry
Remove the chicken from the brine and rinse thoroughly under cold water to remove excess salt from the surface. This step is crucial to prevent over-salting. Pat the chicken completely dry with paper towels. Proper drying ensures better browning when cooking, as moisture on the surface creates steam instead of caramelization.
Step 6: Rest Before Cooking
Let the chicken rest uncovered in the refrigerator for 15-30 minutes before cooking. This allows the salt distribution to equalize throughout the meat and the surface to dry further, promoting better browning. The result will be how to brine chicken breast that cooks evenly and retains moisture.
Nutritional Information
The brining process itself adds minimal calories to chicken breast, as most of the salt and sugar remains in the discarded brine solution. A 4-ounce brined chicken breast contains approximately:
• Calories: 130-140 kcal
• Protein: 26g
• Fat: 3g
• Carbohydrates: 0g
• Sodium: 240-300mg (compared to 70mg in unbrined chicken)
Research shows that brined chicken retains up to 15% more moisture after cooking, which contributes to its juicier texture without significantly impacting nutritional values. The slight increase in sodium content is balanced by the improved eating experience and reduced need for additional salt during cooking.
Healthier Alternatives for how to brine chicken breast recipe
For those monitoring sodium intake, several modifications can make brining more health-conscious:
• Reduce the salt by half and extend brining time by 30 minutes for a lower-sodium option that still improves moisture retention.
• Replace white sugar with a smaller amount of honey (2 tablespoons) or apple juice (1 cup, replacing some of the water) for natural sweetness.
• Add antioxidant-rich ingredients like turmeric (1 teaspoon) or green tea (2 bags steeped in the brine) to introduce health benefits beyond moisture retention.
• For keto or low-carb diets, omit the sugar entirely and add 1 tablespoon of apple cider vinegar to help tenderize the meat through acidity rather than sugar.
Serving Suggestions
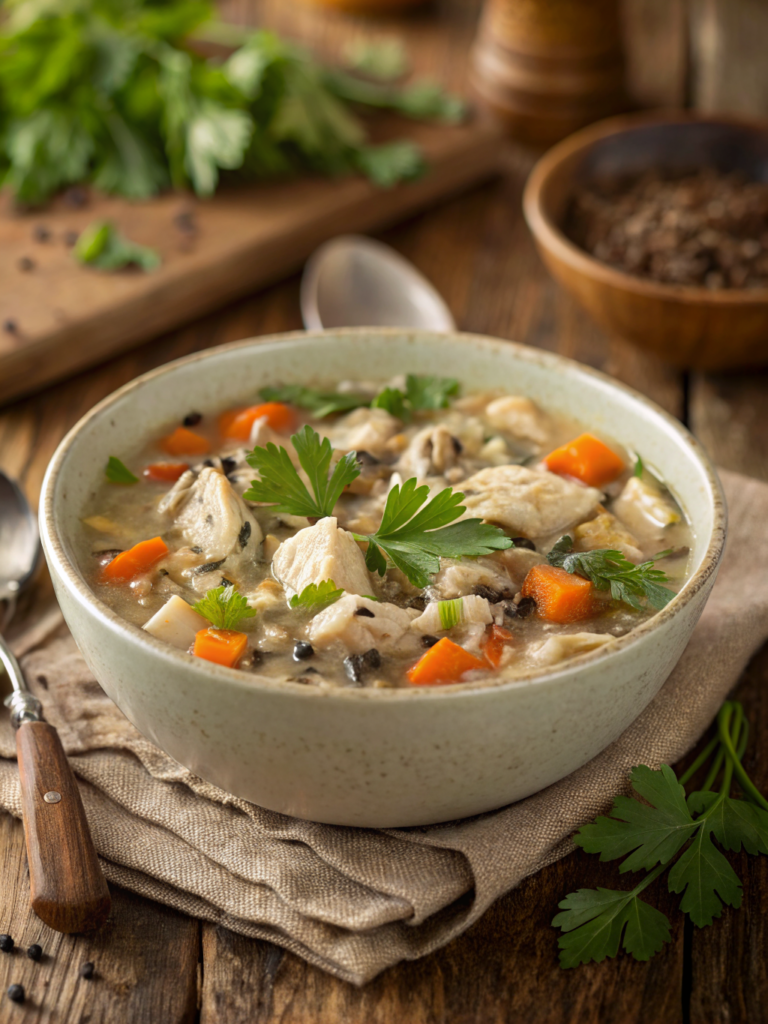
Brined chicken breast’s versatility makes it perfect for countless dishes:
• Slice and serve atop a Greek salad with cucumber, tomato, feta, and olives for a protein-rich meal.
• Cube and use in stir-fries where the juicy chicken pieces will stand up to high-heat cooking without drying out.
• Shred for tacos, enchiladas, or chicken salad – the increased moisture makes it perfect for these applications.
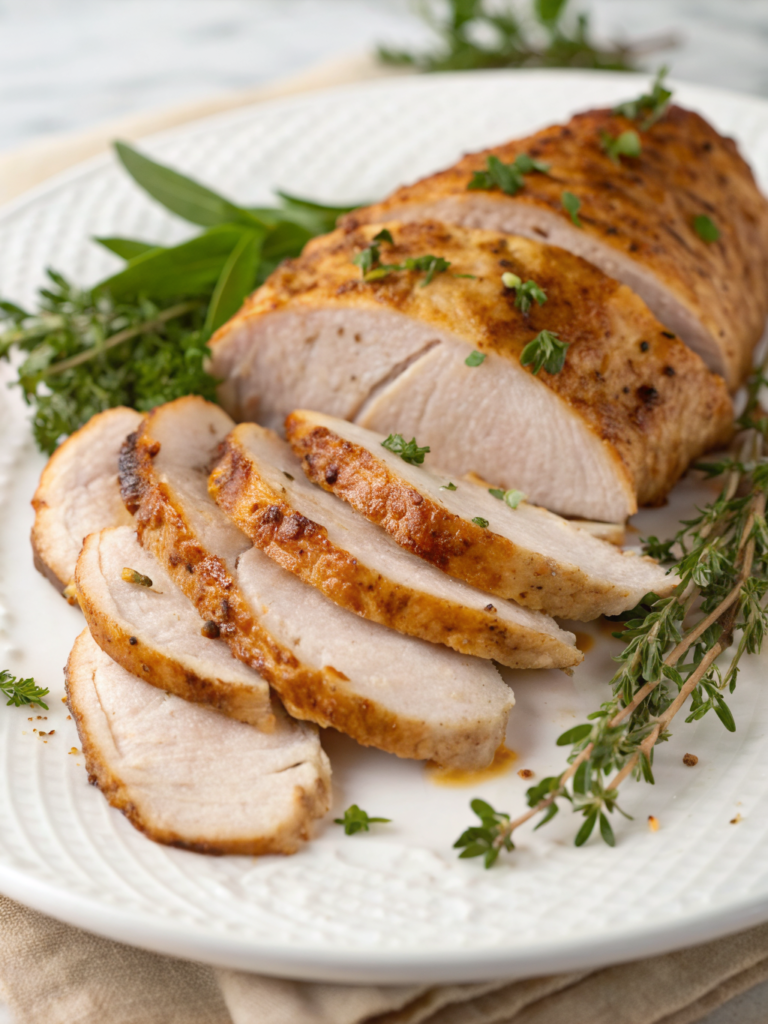
• Serve whole with a simple pan sauce made from the fond (browned bits) left in the pan after cooking. The brined chicken needs minimal accompaniment to shine.
• Pair with roasted vegetables and a whole grain for a balanced, nutrient-dense meal that showcases the chicken’s enhanced flavor.
Common Mistakes to Avoid
- Using table salt instead of kosher salt: Table salt is much finer and more concentrated, leading to overly salty chicken. If you must use table salt, reduce the amount by half.
- Brining for too long: Beyond 4 hours, chicken breasts can become mushy and too salty. Set a timer to avoid forgetting.
- Skipping the rinse: Not rinsing after brining leaves excess salt on the surface, resulting in an unpleasantly salty exterior.
- Using a warm brine: Always cool your brine completely before adding chicken to prevent bacterial growth and partially cooking the exterior.
- Over-seasoning after brining: Brined chicken needs less salt during cooking. Taste before adding additional seasonings.
Storing Tips for the Recipe
Brined chicken can be prepared ahead of time for convenient meal planning:
After brining and rinsing, chicken breasts can be refrigerated for up to 24 hours before cooking. Store them uncovered or loosely covered to maintain surface dryness for better browning.
Cooked brined chicken stays juicier longer than unbrined chicken, making it excellent for meal prep. Refrigerate cooked pieces for up to 4 days in an airtight container.
For longer storage, freeze brined and rinsed (but uncooked) chicken breasts individually on a baking sheet, then transfer to freezer bags once solid. They’ll keep for up to 3 months and defrost with their moisture-retention benefits intact.
For maximum convenience, you can brine multiple batches of chicken, cook them all, and portion them for grab-and-go protein throughout the week.
Conclusion
Mastering how to brine chicken breast recipe is a simple technique that delivers restaurant-quality results at home. This method transforms ordinary chicken into juicy, flavorful perfection with minimal effort. The science-backed process of brining ensures your chicken stays moist through cooking while enhancing its natural flavors.
Ready to elevate your chicken game? Give this brining method a try tonight and experience the remarkable difference it makes. Share your results in the comments below, or tag us in your social media posts! Once you’ve mastered basic brining, explore our other chicken recipes that build on this fundamental technique for even more delicious meals.