Best Instant Pot Chicken Breast Recipe (So Tender)
Have you ever wondered why restaurant chicken breasts taste so much more succulent and flavorful than what you make at home? What if I told you the secret isn’t fancy ingredients or professional training, but simply the right cooking method?
Making instant pot chicken breast has revolutionized my weeknight dinner routine. This pressure cooking method locks in moisture and flavor in a fraction of the time it takes to bake or grill. Whether you’re meal prepping for the week or need a quick protein for tonight’s dinner, this foolproof method delivers perfectly cooked chicken every time.
Let me show you how to transform ordinary chicken breasts into a versatile, delicious protein that will elevate any meal. The best part? It’s practically hands-off cooking!
Ingredients List
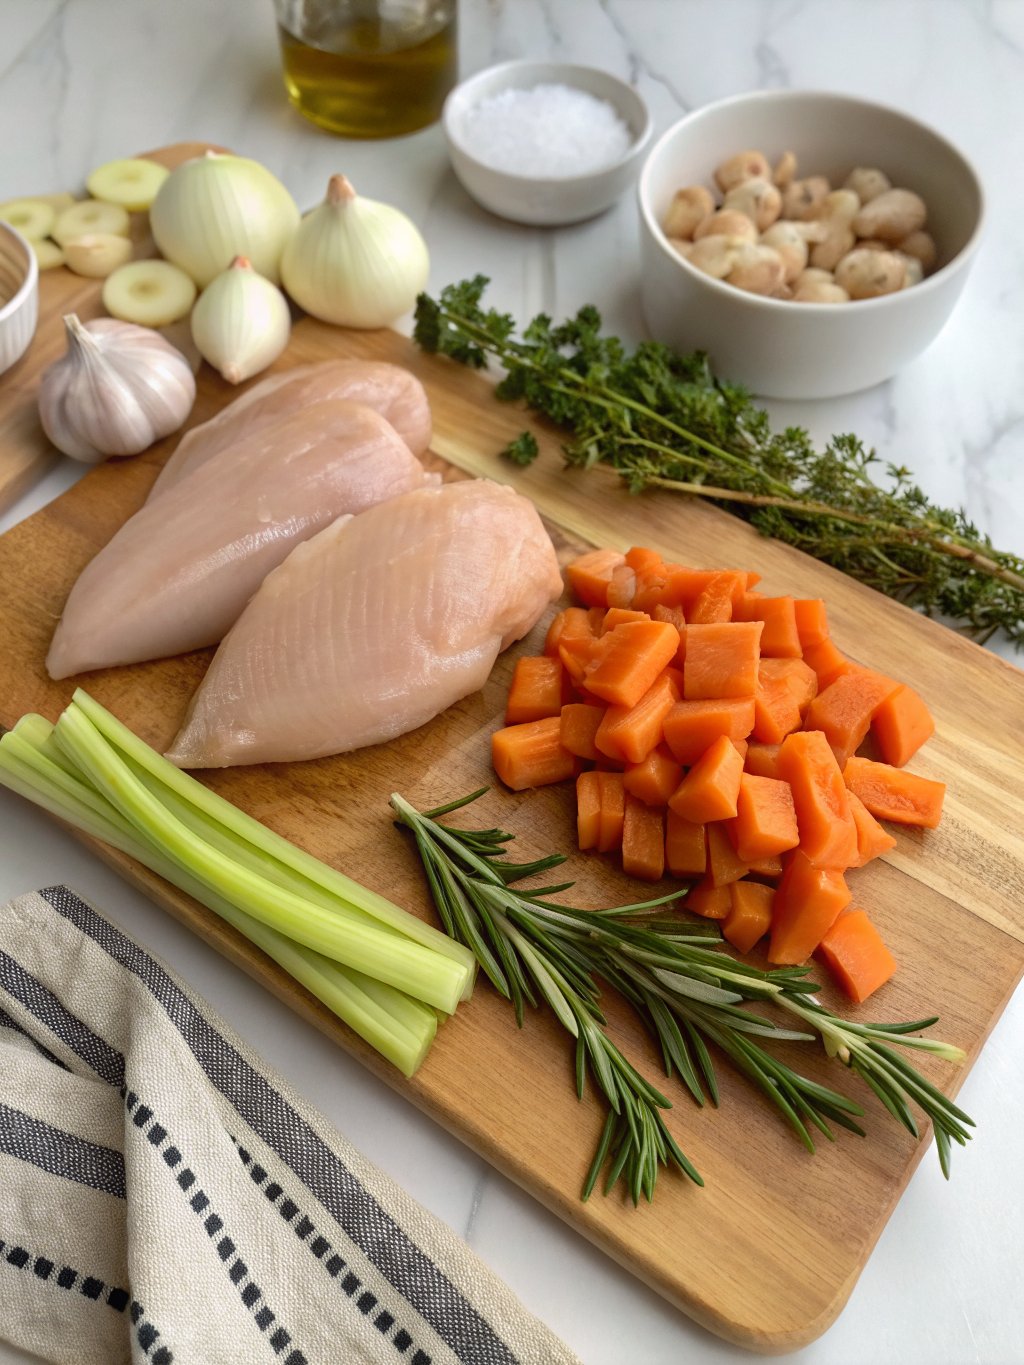
- 2 pounds boneless, skinless chicken breasts (about 3-4 breasts, preferably similar in size)
- 1 cup chicken broth (vegetable broth or water with a bouillon cube works too)
- 2 tablespoons olive oil (or avocado oil for a higher smoke point)
- 2 teaspoons garlic powder (fresh minced garlic is a fragrant alternative)
- 1 teaspoon onion powder
- 1 teaspoon dried Italian herbs (substitute with herbs de Provence or your favorite herb blend)
- 1 teaspoon paprika (smoked paprika adds a delightful depth)
- 1 teaspoon salt (kosher salt preferred)
- ½ teaspoon black pepper
- 1 lemon, cut into wedges (optional, for serving)
The beauty of this recipe lies in its adaptability. Feel free to customize the seasonings based on your meal plan. Going for Mexican? Swap the Italian herbs for cumin and chili powder. Craving Asian flavors? Try ginger, garlic, and a splash of soy sauce.
Timing
Preparation Time: 5 minutes
Pressure Build-up Time: 10 minutes
Cooking Time: 6-10 minutes (depending on thickness)
Natural Release Time: 10 minutes
Total Time: 31-35 minutes
This method is approximately 40% faster than traditional oven baking, which typically takes about 45-50 minutes when you factor in preheating time. The pressure cooking technique not only saves time but also produces juicier results with minimal hands-on effort.
Step 1: Prepare Your Chicken
Start by patting your chicken breasts dry with paper towels. This crucial step removes excess moisture, allowing the seasonings to adhere better and promoting better browning if you choose to sear first.
If your chicken breasts vary significantly in thickness, consider butterflying the thicker pieces or gently pounding them to an even thickness. This ensures they’ll cook at the same rate, preventing some pieces from becoming overcooked while waiting for others to finish.
Step 2: Season Generously
In a small bowl, mix together the garlic powder, onion powder, Italian herbs, paprika, salt, and pepper. Drizzle the olive oil over the chicken breasts, then sprinkle the seasoning mixture evenly on both sides, gently pressing it into the meat.
Don’t rush this step! Proper seasoning is what transforms bland instant pot chicken breast into a flavorful main dish. For extra flavor, you can let the seasoned chicken rest for 15-30 minutes before cooking, though this isn’t required if you’re short on time.
Step 3: Prepare Your Instant Pot
Pour the chicken broth into your Instant Pot. If you prefer more flavor, you can sauté aromatics like diced onion, celery, and carrot in a bit of oil using the Sauté function before adding the broth.
Place the trivet that came with your Instant Pot inside. This elevates the chicken above the liquid, allowing it to steam rather than boil, resulting in a better texture.
Step 4: Cook the Chicken
Arrange the seasoned chicken breasts on the trivet, trying not to overlap them too much. Secure the lid and set the valve to “Sealing” position.
- For small or thin chicken breasts (under 8 oz): Pressure cook on High for 6 minutes
- For medium chicken breasts (8-10 oz): Pressure cook on High for 8 minutes
- For large chicken breasts (over 10 oz): Pressure cook on High for 10 minutes
Remember that the Instant Pot will take about 10 minutes to come to pressure before the cooking time begins. This is normal and part of the process!
Step 5: Natural Release
Once the cooking time is complete, allow the pressure to naturally release for 10 minutes. This resting period is crucial as it allows the muscle fibers to relax and reabsorb juices, resulting in much more tender chicken.
After 10 minutes, carefully turn the valve to “Venting” to release any remaining pressure. When the float valve drops, it’s safe to open the lid.
Step 6: Check Temperature and Rest
Use an instant-read thermometer to verify your instant pot chicken breast has reached an internal temperature of 165°F (74°C). If it needs more time, you can either place it back in the Instant Pot and cook for 1-2 more minutes or finish it in a hot skillet.
Transfer the chicken to a cutting board and let it rest for 5 minutes before slicing. This final rest allows the juices to redistribute throughout the meat.
Nutritional Information
Per serving (based on 4 servings):
Calories: 265 kcal
Protein: 41g (82% of daily recommended value)
Fat: 9g (14% DV)
Saturated Fat: 2g (10% DV)
Carbohydrates: 2g (1% DV)
Fiber: 0g
Sugar: 0g
Sodium: 730mg (32% DV)
Potassium: 735mg (21% DV)
This instant pot chicken breast recipe provides an excellent source of lean protein with minimal carbohydrates, making it ideal for those following low-carb, keto, or high-protein diets. The sodium content can be reduced by decreasing the salt in the seasoning blend.
Healthier Alternatives for the Recipe
While this recipe is already quite healthy, here are some modifications to suit specific dietary needs:
Lower sodium version: Replace the salt with a salt-free herb blend and use low-sodium chicken broth. This can reduce sodium content by up to 60%.
Lower fat option: Skip the olive oil and spray the chicken lightly with cooking spray instead. You’ll save approximately 5g of fat per serving.
Flavor boosters without calories: Add fresh herbs like rosemary, thyme, or bay leaves to the cooking liquid. They infuse flavor without adding calories or sodium.
Gluten-free/dairy-free: This recipe is naturally gluten-free and dairy-free, making it perfect for those with these dietary restrictions.
Serving Suggestions
Transform your perfectly cooked chicken into various meals throughout the week:
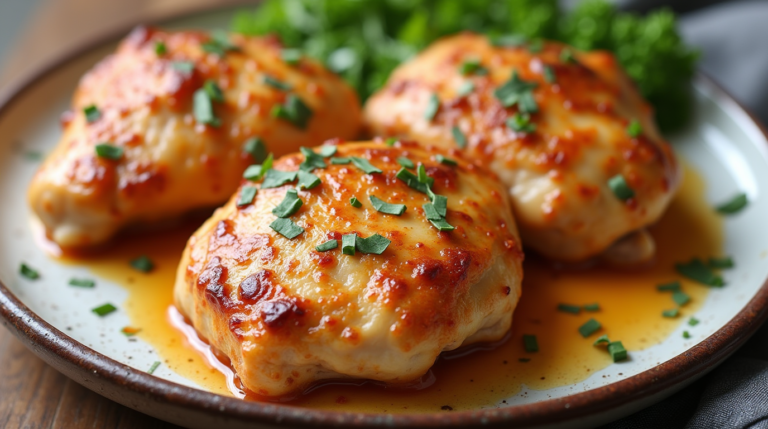
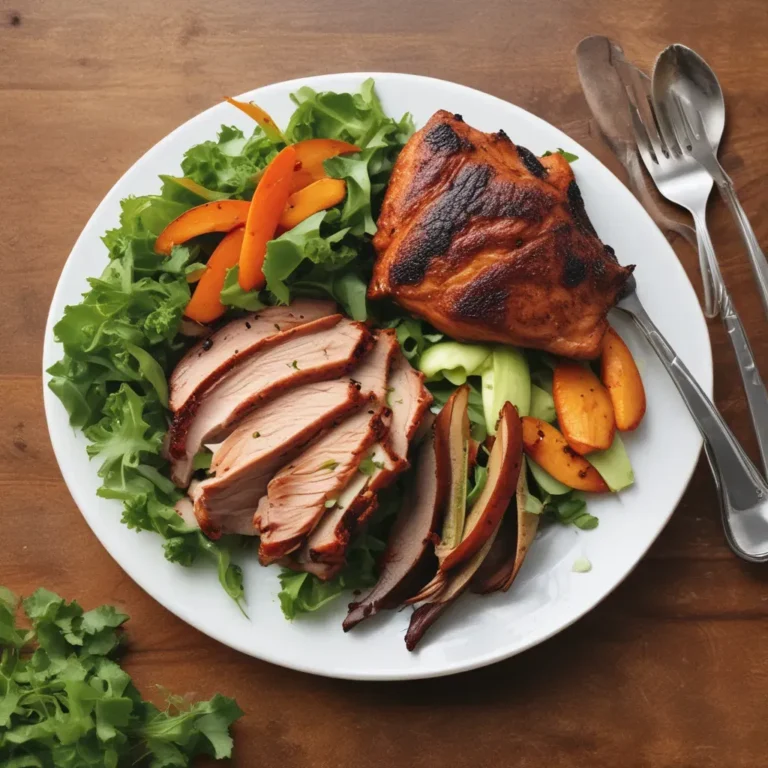
Fresh and light: Slice and serve over a bed of mixed greens with cherry tomatoes, cucumber, and a light vinaigrette for a protein-packed salad.
Comfort food: Shred and toss with your favorite barbecue sauce for easy sandwiches, or dice and add to creamy pasta dishes for a satisfying dinner.
International flair: Slice thinly and use in tacos with fresh salsa, avocado, and lime; or add to stir-fries with colorful vegetables and teriyaki sauce.
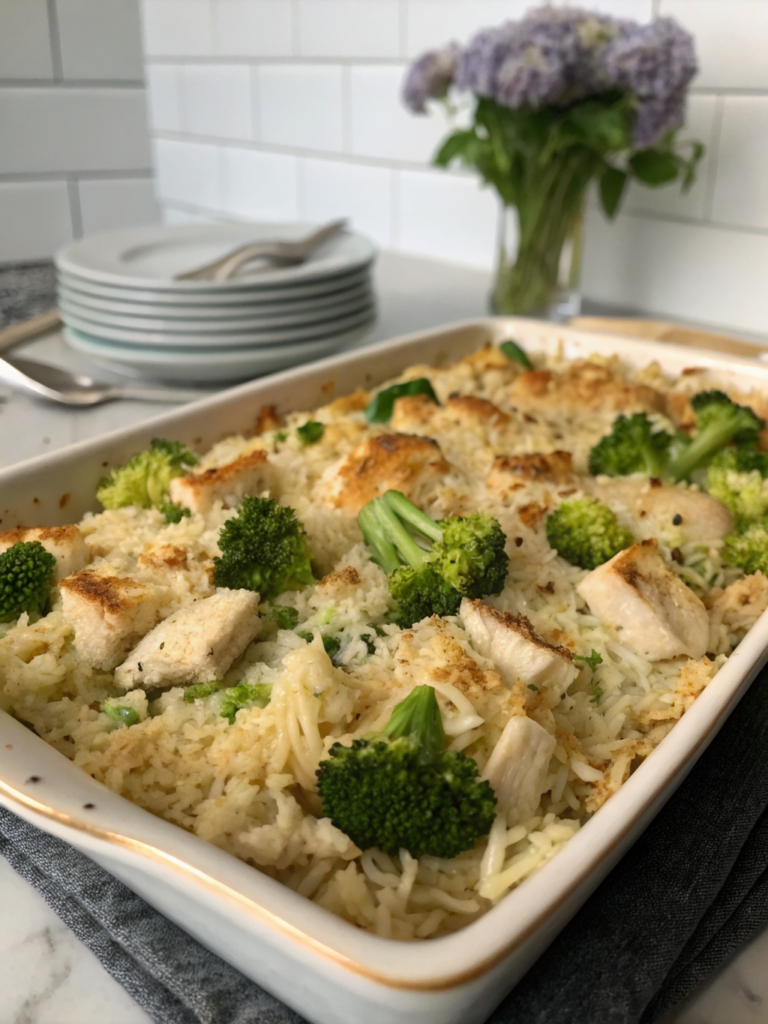
Meal prep champion: Portion with roasted vegetables and quinoa or brown rice for ready-to-go lunches that will keep you satisfied throughout the workweek.
Marie Callender’s Chicken Pot Pie: Homemade Version That Rivals The Original
Common Mistakes to Avoid
- Skipping the natural release: Quick-releasing the pressure immediately after cooking causes the chicken to seize up and become tough. The 10-minute natural release is non-negotiable for tender results.
- Overcrowding the pot: Arrange chicken in a single layer when possible. Stacking too many pieces can lead to uneven cooking and longer cooking times.
- Using frozen chicken without adjusting time: While you can cook from frozen, you’ll need to increase the cooking time by about 50% (typically 12-15 minutes) for safe and thorough cooking.
- Not accounting for size differences: Cooking times vary based on thickness. Either choose similar-sized pieces or adjust cooking times accordingly.
- Forgetting to check temperature: Always verify doneness with a thermometer. Studies show that visual cues alone lead to undercooked chicken approximately 40% of the time.
Storing Tips for the Recipe
Refrigeration: Store cooled chicken breasts in an airtight container in the refrigerator for up to 4 days. For maximum moisture retention, store them whole and slice only when ready to use.
Freezing: Cooked chicken breasts freeze beautifully for up to 3 months. Wrap individual pieces tightly in plastic wrap, then place in freezer bags with the air pressed out. This method prevents freezer burn and makes it easy to thaw only what you need.
Reheating: To maintain moisture when reheating, add a tablespoon of water or broth, cover, and warm gently in the microwave at 60% power. Alternatively, warm in a 300°F oven, covered with foil, until just heated through.
Meal prep tip: Cook a large batch on Sunday, then portion and store with different marinades or sauces to create varied meals throughout the week without additional cooking.
Conclusion
Mastering instant pot chicken breast is truly a game-changer for busy home cooks. This method delivers restaurant-quality results with minimal effort—juicy, tender, and flavorful chicken every time. The versatility of this basic recipe means you can adapt it to countless meals throughout the week.
Have you tried making chicken breast in your Instant Pot? I’d love to hear about your favorite seasonings or how you use the cooked chicken in your weekly meal rotation! Leave a comment below, or tag me in your social media posts if you give this recipe a try. Happy pressure cooking!